I have two cereal-themed cookie recipes and one cereal-themed cake ball recipe, so it was only a matter of time until I gave y’all a cereal-themed cake, right?!
And what’s the cereal featured in this cake? Apple Jacks, of course! But don’t worry, the Apple Jacks aren’t just a mix in, they are actually ground up and used as a partial flour substitute, which gives this cake a wonderful color and delicious taste.
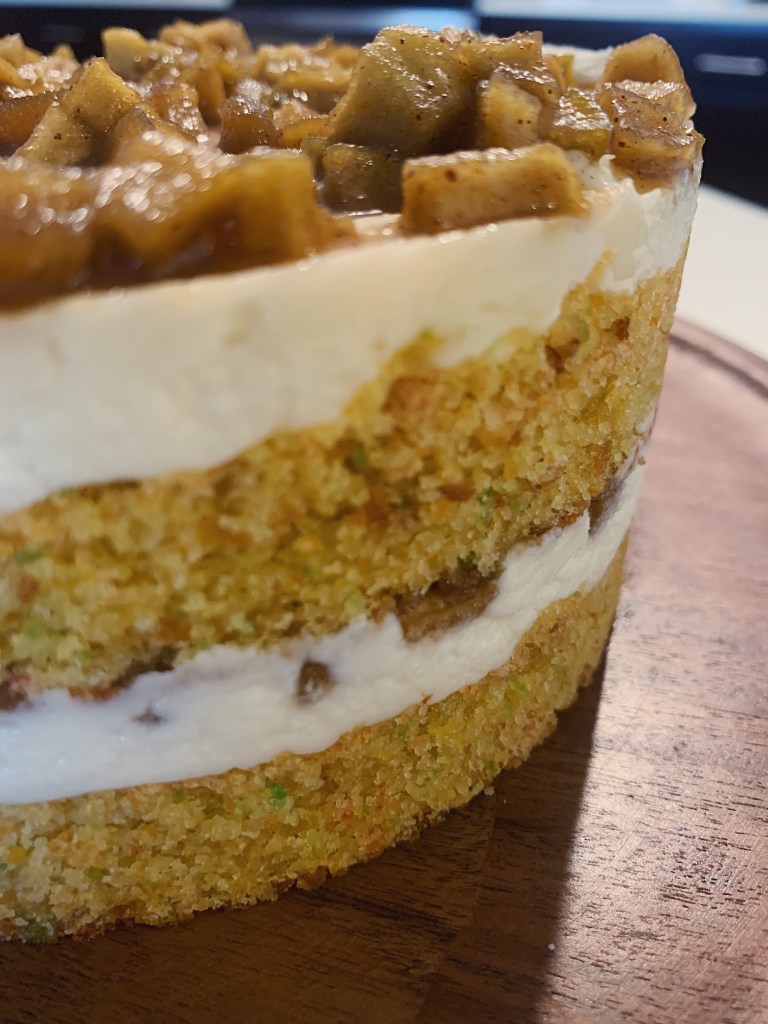
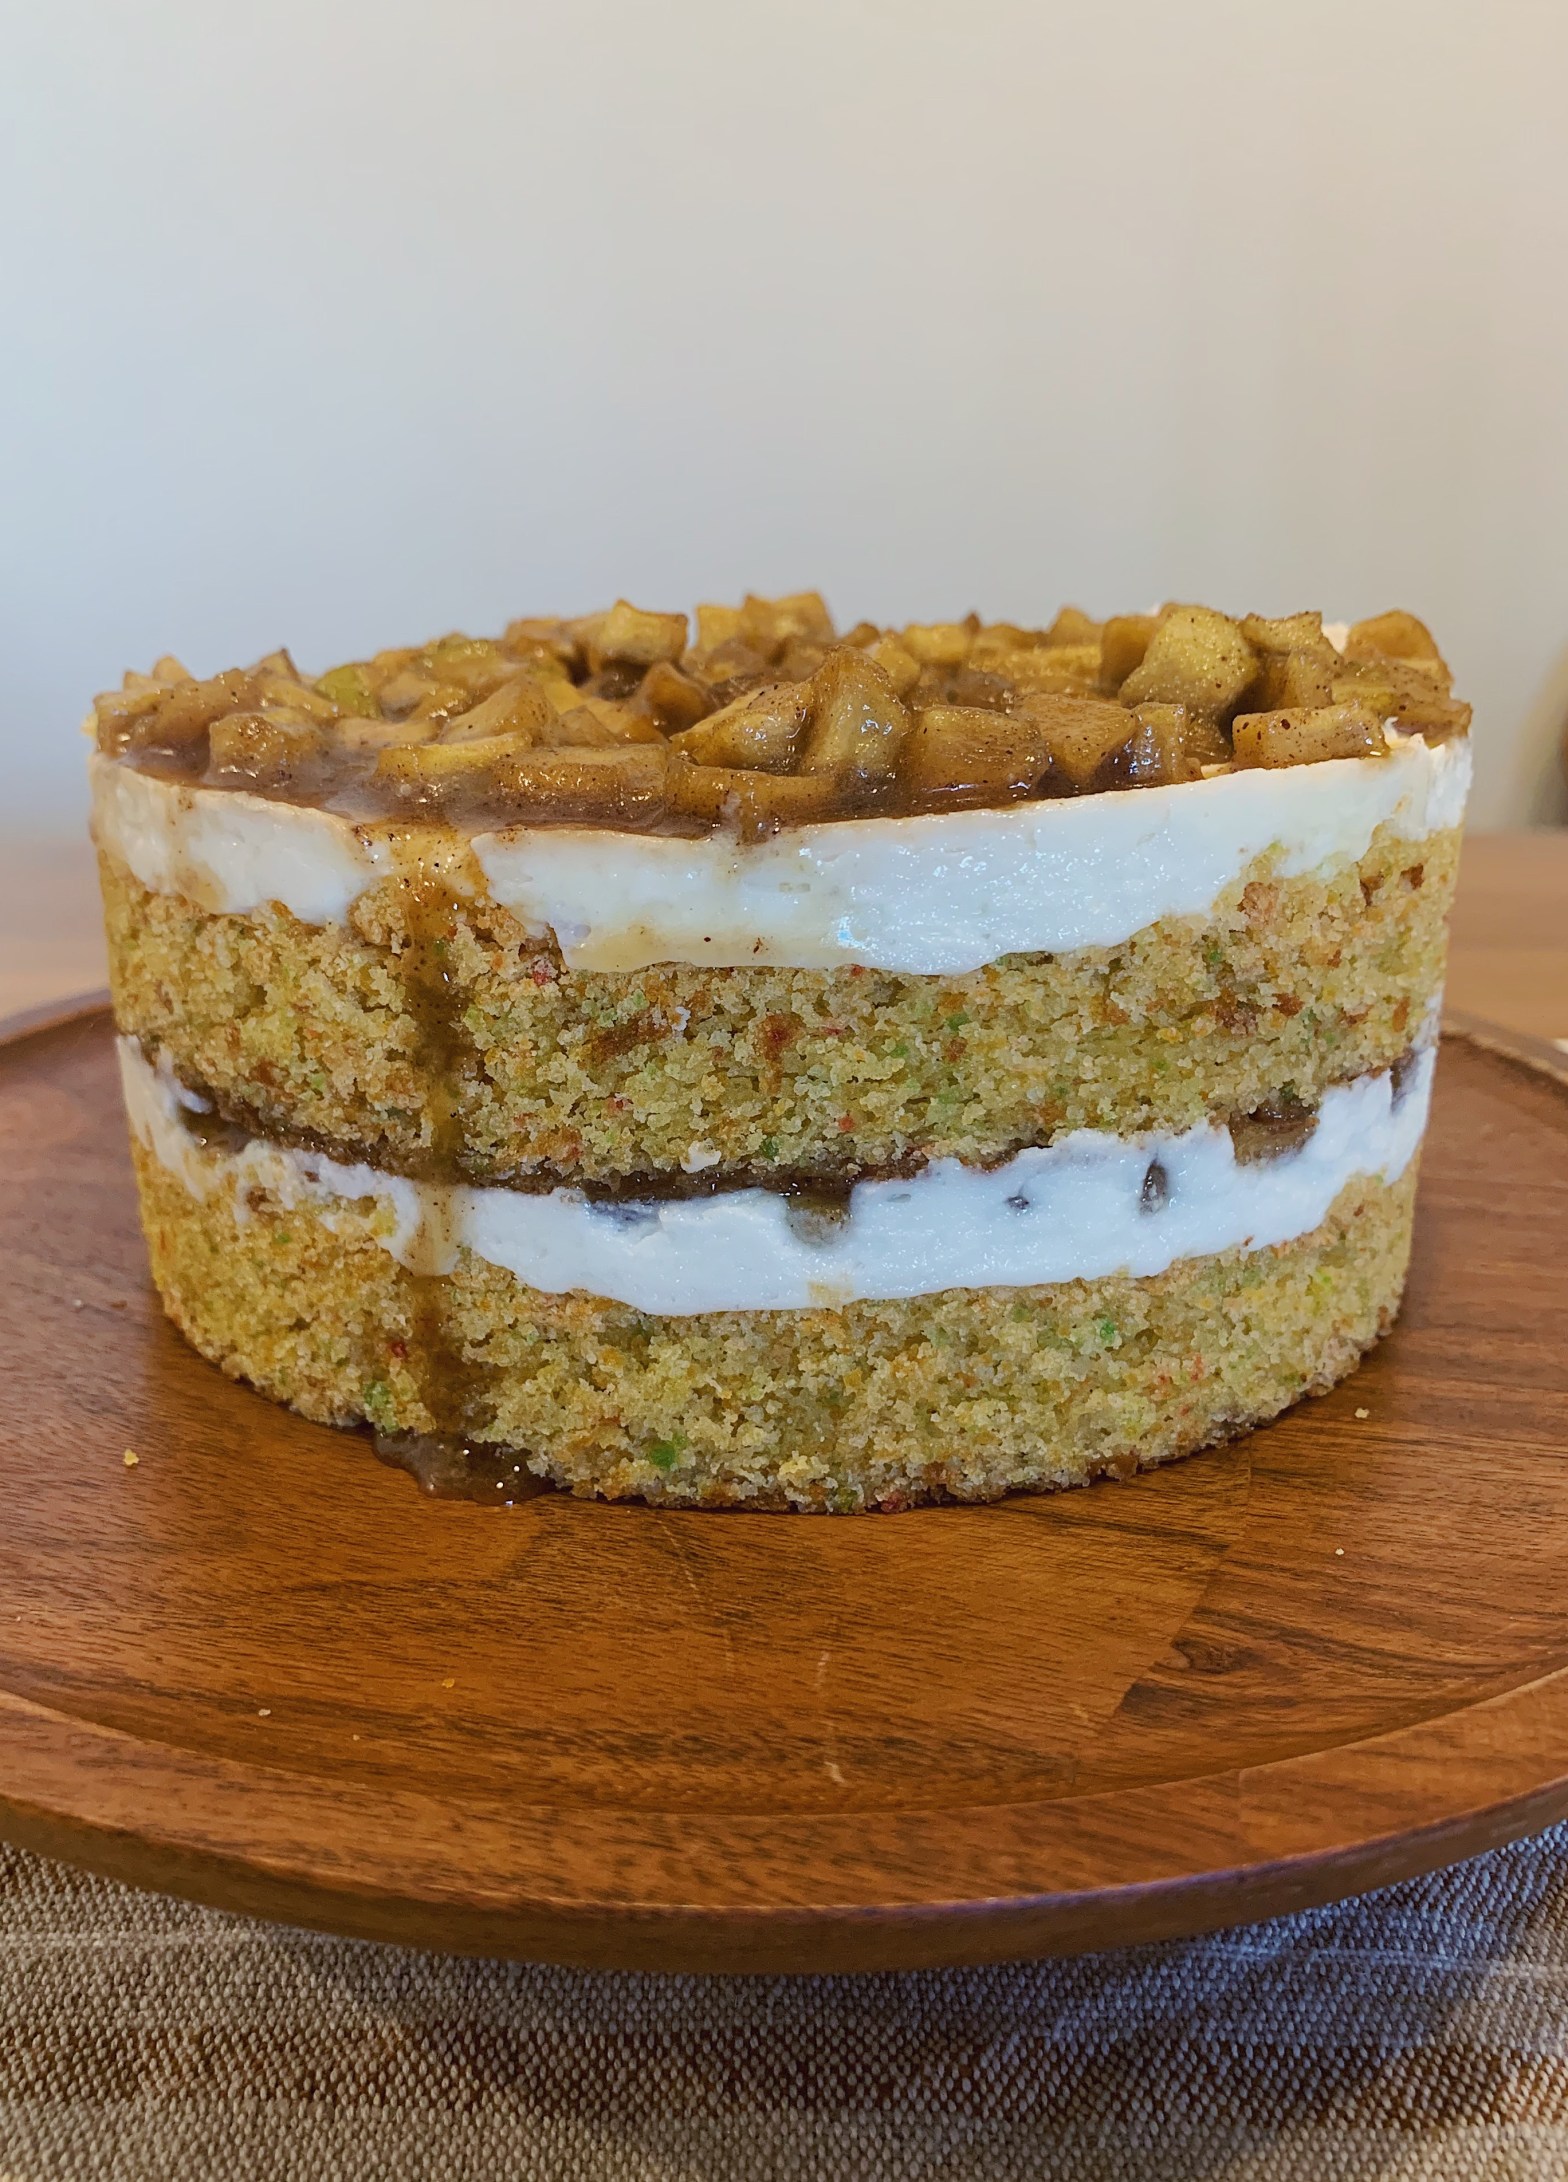
Plus, the Apple Jack cake is paired with an apple filling (similar to apple pie filling) and you guessed it, cream cheese frosting.

I hope you enjoy this Apple Jack Cake! Let me know in the comments below how it turned out or share a photo on Instagram and tag @homecourtbakes!
XO,
Coco
Prep time: 35 minutes
Cook time: 30-35 minutes plus ~1 hour for cooling
Total time: 2 hours
Yields: 1 quarter sheet pan (9-by-13 inches) or 2 9-inch round cake pans
If you’re wanting to make a Milk Bar style-cake, you should bake the cake in a quarter sheet pan. Note you’ll also need a 6-inch cake ring and a roll of acetate sheets to construct the cake. The cake also needs 3-4 hours in the freezer and then 2-4 hours to thaw before eating. The cake shown above is a Milk Bar-style cake just with two layers.
Ingredients for the Apple Jack Cake:
- 55 grams (half of one stick) unsalted butter at room temperature
- 60 grams (5 Tbsps.) vegetable shortening
- 250 grams (1 1/4 cup) granulated sugar
- 50 grams (3 Tbsps. tightly packed) light brown sugar
- 3 large eggs
- 110 grams (1/2 cup) buttermilk
- 75 grams (1/3 cup) vegetable oil
- 8 grams (2 tsp) vanilla extract
- 123 grams (1 cup scooped and leveled) cake flour
- 122 grams (1 cup scooped and leveled) ground Apple Jacks
- 6 grams (1 1/2 tsp) baking powder
- 3 grams (3/4 tsp) kosher salt
Ingredients for the Apple Filling:
- 300 grams (2 apples) peeled and diced Granny Smith Apple
- 14 grams (1 Tbsp.) unsalted butter
- 150 grams (3/4 cup) dark brown sugar
- 1 gram (1/2 tsp) ground cinnamon
- 1 gram (1/4 tsp) kosher salt
Ingredients for the Cream Cheese Frosting:
- 1/2 cup unsalted butter at room temperature
- 1 8-ounce package cream cheese at room temperature (use a block, not the spreadable kind)
- 2 tsp vanilla extract
- 5-6 cups confectioners’ sugar
- 1-3 Tbsps. milk (if needed)
Instructions:
Make the Apple Filling:
- Peel, seed and slice the applies into half-inch cubes.
- In a medium pot, combine the apple pieces with the butter, brown sugar, cinnamon and salt. Slowly bring to a boil over medium heat, using a spoon to gently stir the mixture as it heats up and the apples begin to release liquid.
- Reduce the heat and simmer gently for 3-5 minutes. no longer if you want to avoid breaking your apples down into an applesauce-like consistency.
- Transfer the filling to a container and put in the fridge to cool down
- Note: Once cooled, this filling can be stored in the fridge in an airtight container for up to 1 week.
Make the Apple Jack Cake:
- Preheat the oven to 350° F.
- Spray the bottom of your pan(s) with baking spray, line the bottom with parchment and spray the top of the parchment and up the sides of your pan.
- Grind the Apple Jacks using a food processor or small blender. The Apple Jacks should be ground to the point that they feel like flour consistency. You shouldn’t have any larger crumbs or lumps of Apple Jack.
- Add the butter, shortening and sugars to the bowl of a stand mixer fitted with the paddle attachment. Cream together on high for 1-2 minutes (until light and fluffy). Scrape down the sides of the bowl at the end.
- Add the eggs one at a time, making sure each is fully incorporated before adding the next. After adding the last egg, scrape down the sides of the bowl and mix on high for another 3-4 minutes. Scrape down the sides of the bowl. If there are any streaks of ingredients that aren’t fully incorporated, cream for another 2-3 minutes.
- With the mixer on low, slowly stream in the oil, then the buttermilk and then the vanilla. When finished, scrape the sides and bottom of the bowl and mix on high for another 4-6 minutes. When done, the mixture should double in size and be completely homogenous.
- In a separate bowl, whisk together the cake flour, ground Apple Jacks, baking powder and salt. Add the dry ingredients to the wet all at once and mix on the lowest speed for 45 to 60 seconds. If needed, use a rubber spatula or bench scraper to bring the dough completely together.
- Pour the batter into your pan(s) and spread into an even layer.
- Bake for 30-35 minutes, making sure to rotate the pan(s) at 15 minutes to ensure an even bake. At 30 minutes, use your finger to gently poke around the outside and center of the cake. It should bounce back very slightly and not be jiggly at all.
- When baked through, remove the cake from the oven and allow to cool on a wire rack. If using a quarter sheet pan, you can cool the cake in the pan completely. If using round cake pans, I recommend cooling the cakes in the pan for 15-20 minutes and then removing them from the pan to continue to cool.
- Depending on your pan, you can use an offset spatula or bench scraper to cut around the sides of the cake to loosen the edges and invert it onto a plate. Then remove the parchment paper and invert again onto the wire rack to finish cooling.
- While the cake is cooling, make the frosting by adding the butter, cream cheese and vanilla to the bowl of a stand mixer fitted with the paddle attachment and beating on medium speed until light and fluffy. Gradually add the confectioners’ sugar and beat until creamy. If the frosting is feeling too thick, you can add milk 1 tablespoon at a time.
- Once the cake(s) is cooled, assemble your cake.
- For a more rustic-looking cake baked in two 9-inch cake pans, you can do a base layer of cake topped with a layer of frosting and then a layer of filling. Then I added the top layer of cake (making sure to invert it so the bottom of this layer becomes the top of the cake), another layer of frosting and then another layer of filling. I usually don’t frost the sides, but if you’d like to, be sure to frost the entire cake before adding the final layer of filling as decoration.
- For a Milk Bar-style cake: Click here for step-by-step instructions on how to construct the cake. Just skip the soak and crumb layers as this recipe doesn’t have those.
- Enjoy!
- Storage: I recommend storing this cake in the fridge as I think it tastes better chilled and will last longer.
